It’s happened to all of us before: you’re scrolling down your Facebook, either procrastinating on homework or taking a well-deserved break from it, when one of the auto-play Buzzfeed Tasty recipe videos start playing. Before you know it, you’re going down a rabbit-hole of food porn shots from “easy” and “delicious” recipes. But I wonder, exactly how simple are Tasty’s recipes? I went out and tried cooking three recipes for myself. Read on to see the results. Recipes courtesy of Buzzfeed Tasty.
Pumpkin Pie Cones
[star rating=”2″]
Ingredients:
1) 1 can pumpkin puree
2) 1/2 cup sugar
3) 1 cup evaporated milk
4) 1/2 tsp salt
5) 1 Tbsp. pumpkin spice (nutmeg, ginger, cloves, cinnamon)
6) 2 eggs
7) 2 packages of puff pastry
8) Cooking spray
9) Aluminum foil

Steps:
1) Shape foil into cones (any size works).
2) Cover cones with oil, then get out puff pastry and roll it out.
3) After rolling pastry out, cut it into 1 inch strips and brush with water.
4) Begin rolling the pastry onto the cone molds.
5) Bake for 15 minutes at 400 degrees fahrenheit.
6) Combine pumpkin puree, sugar, evaporated milk, pumpkin spice, salt and eggs.
7) Take the cones out, take out of mold,nd pipe pumpkin mixture into the cones.
8) Bake cones for 30 minutes at 400 degrees fahrenheit.
9) Cover cooked cones with whipped cream and cinnamon.
The cones didn’t hold up — maybe I needed to make them thicker; also, I baked them for too long, so they looked burnt. Although, if I hadn’t baked them as long as I had, the pumpkin filling wouldn’t have set.
Flavor: The “cones” tasted fine, and were nice and buttery. However, I used store-bought dough, so that’s probably why they tasted so good. The pumpkin filling wasn’t very sweet, so I would recommend adding more sugar.
Level of difficulty: If not for the cones, they would’ve been pretty easy to make. Unfortunately, because the cones were the most important part of the whole recipe, I can’t say that these pumpkin cones were great.
Loaded Cheese-Stuffed Mashed Potato Balls
[star rating=”4″]
Ingredients:
1) 4 cups leftover mashed potatoes
2) 1/2 cup sliced green onions
3) 3/4 cup chopped cooked bacon
4) 1 tsp garlic powder
5) 1/2 tsp black pepper
6) 2 eggs
7) Small blocks of Cheddar Cheese
8) 1 cup flour
9) 1 cup bread crumbs
10) Oil for frying
11) Salt

Steps:
1) Cut cheese into blocks.
2) Mix together mashed potatoes, green onions, bacon, garlic powder, pepper and egg.
3) Flatten a lump of mixture into a circle, then put a cheese square in the center.
4) Surround the cheese with the mixture.
5) Cover in flour, then beaten egg, then breadcrumbs, then egg again, then back in breadcrumbs before frying for 5 minutes in 350 degree fahrenheit oil.
6) Take out, drain excess oil on a paper towel, and sprinkle with salt.
These were fairly good! They were very messy to make, but were worth the effort.
Flavor: The crispy outer shell and mushy potatoes contrasted amazingly right after frying, but because the crust turned soggy once they were cold, they didn’t taste as great. The sharpness of the onion came through and gave the otherwise heavy flavor a hint of freshness and the bacon gave a nice salty chew.
Level of difficulty: If you don’t know how to fry things, this was kind of hard. All the other steps, however, were easy to execute.
Bacon Egg Cups
[star rating=”5″]
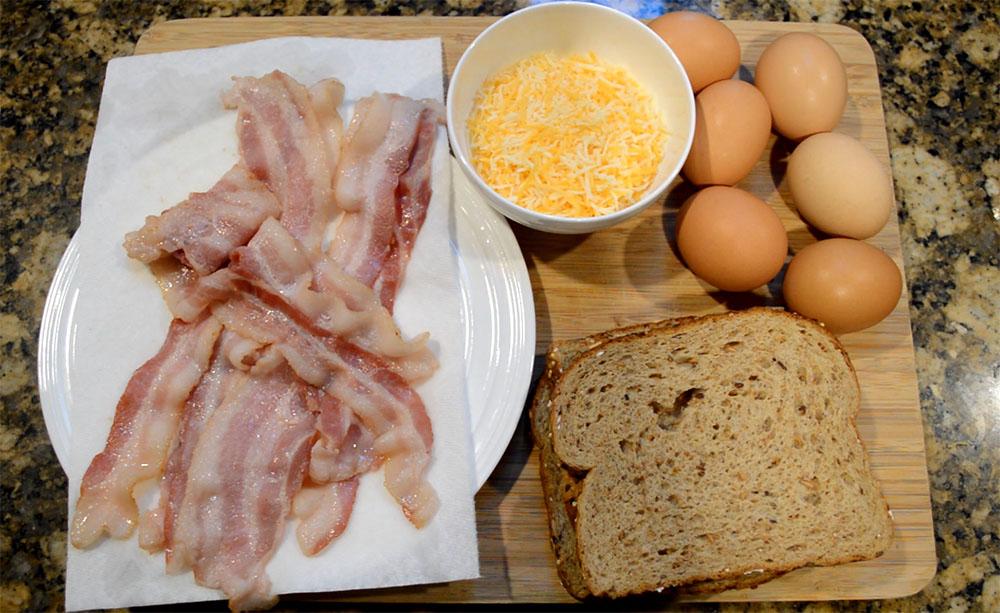
Ingredients:
1) 6 eggs
2) 1/4 tsp salt
3) 1/4 tsp pepper
4) 6 strips of cooked bacon
5) 1 1/2 cups shredded cheddar cheese

6) 3 slices of bread
Steps:
1) Preheat oven to 400°F.
2) Cut 6 circles out of a slice of bread.
3) Press the bread circles into a greased muffin tin.
4) Take slightly cooked bacon and line the side of the individual muffin tin with it.
5) Sprinkle the top of the bread with cheese.
6) Pour egg into individual muffin tin.
7) Top each one with cheese.
8) Bake 15-20 minutes, until eggs are fully set.
These were the best! They were yummy, easy and a simple clean up. If you like a runny yolk, I’d bake these for less than 15 minutes.
Flavor: They tasted pretty good, though like the potato balls they should be eaten hot. The bacon wasn’t as crispy as I was expecting it to be. My egg was over-baked and wasn’t as runny as I would’ve liked it, but that was on me for baking them too long.
Level of difficulty: These were by far the easiest recipe to make; a 3 year old could make them.


